|
Overview: The following set of instructions will help users enable multi-factor authentication (MFA) compatibility for Outlook 2013. Anything below Outlook 2013 is not supported and incompatible. Instructions: 1. Click the Windows icon in the bottom portion of your screen (or elsewhere if you have changed your display settings) or press the Windows button on your keyboard.  2. Type in “Registry Editor” and click the first option.  3. You should now see the Registry Editor window and in the left panel, see five primary folder directories: HKEY_CLASS_ROOT, HKEY_CURRENT_USER, HKEY_LOCAL_MACHINE, HKEY_USERS, HKEY_CURRENT_CONFIG. Click on HKEY_CURRENT_USER. This is the folder you want to stay in throughout the whole process.  4. Next, copy and paste the following path onto the current path \SOFTWARE\Microsoft\Office\15.0\Common\Identity\. Your current path should now look exactly as shown in the picture below.  5. You should now see a subfolder called “identity;” click it. In the right panel, you should now see two registry subkeys called “(Default)” and “Version.” The subkey, “Version,” is a value we need and already has the correct data value of 1. We can leave it as it is. Directly underneath of it, right-click, click “New,” and then click “DWORD (32-bit) value.”  6. You should now see a new row like this:  6a. Right-click on “New Value #1” and then click “Modify.” Change the Value data to 1 and hit “OK.” Then, right-click “New Value #1” again and click “Rename,” and change it to “EnableADAL.” Your new subkey should look like this:  7. Once that is complete go back to step 3. 8. Copy and paste the following into the file path: \SOFTWARE\Microsoft\Exchange. Your new path should look like the following;  9. Now, this time you will see a subfolder called “Exchange;” click on it. In the right panel, you should now see a registry subkey called “(Default).” Directly underneath of it, right-click, click “New,” and then click “DWORD (32-bit) value.”  10 You will now have a new row. Right-click on “New Value #1” and then click “Modify.” Change the Value data to 1 and hit “OK.” Then, right-click “New Value #1” again and click “Rename,” and change it to “AlwaysUseMSOAuthForAutoDiscover.” 11. Now, close out the Registry Editor, Close Outlook; if it's already open, re-open it and enter your password and your two-factor authentication code. Suppose you are unable to sign-in, close the application once more and wait a couple of minutes. Outlook may need some time to observe the new settings.
0 Comments
1. Download the “Google Authenticator” app from your smart phone’s app store. For iPhone this will be the App store and Google Play for Android. 2. Open your Chrome browser and sign into your Google account if you have not done so already. 3. Click on your Google account icon in the top right corner of the webpage and click on “Manage your Google Account.”  4. Next, on your homepage, click on “Security” on the left-hand side.  5. Then, scroll down until you see “2-Step verification.” Click on the arrow icon to the right of it. This will start the verification process.  6. Click “GET STARTED.”  7. Then, type in your password and click “Next.” 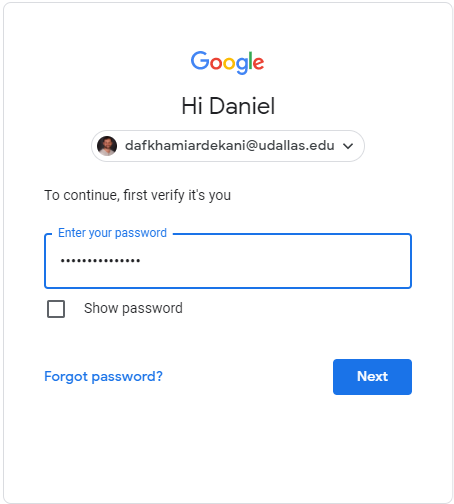 8. On the following page verify your phone number and where it says, “How do you want to get codes?” make sure “Text message” is selected. When you’re done hit “NEXT."  9. You should soon after be receiving a text from google with a verification code. Enter only the numbers portion of the code. When you are done hit “NEXT.”  10. After you hit “NEXT” you will be taken to a new page asking if you now want to “Turn on 2-Step Verification?” Click “TURN ON” in the bottom right corner.  11. Next, scroll down towards the bottom until you see “Authenticator App” and click “SET UP.”  12. Then, select the kind of phone you have and hit “NEXT”.  13. Now, open your Google Authenticator app you downloaded earlier on your phone, select the plus icon in the bottom right corner of the screen, select “Scan a QR code” and line up your camera with the QR code on the screen. 14. After you scan the code your camera will go away, and a code will appear. 15. The code generated in your Google Authenticator app will refresh every 30 seconds. This is normal and a key security feature with the app. Now, when you sign into Google you will put in your password as per usual and then your six-digit two-factor authentication code.
|